

Enamel pins multiply fast, and most collectors end up with a drawer full of pins nobody sees.
So how do you show them off without scratches or a messy pile?
This article shows you how to build a pin banner step by step, from the materials and the base to fixing each pin and growing the display as your collection grows.
What You’ll Need
Start with felt, and go for one 9 × 12 in sheet. That size makes a compact base: small enough to hang almost anywhere, and cheap enough that a wonky first try won’t hurt much.
Wool-blend felt runs about $1 to $2 a sheet when you buy in bulk, and single sheets cost more. Skip them: the pack is the only sensible buy.
Here’s the full list, with what you can swap and what you shouldn’t skimp on:
- A ¼ inch wooden dowel, 12 inches long, for a 9 × 12 inch felt banner. Don’t skimp on this one, because it keeps the top edge straight.
- Thread, a needle or a sewing machine, and scissors. A hand needle works fine for felt, so the machine is optional.
- String or ribbon to hang it. Use a sturdy cord, not thin thread, since it carries the whole banner.
- A fat quarter of quilting fabric, about 18 × 22 inches, if you go with fabric. It’s enough for a small banner.
Choosing Your Base
Start with two questions: how many pins do you own, and where will the banner hang? Felt suits a small collection because pin posts slide straight through it.
Hanging it by a sunny window or in a damp bathroom? Pick another spot, since sun fades the colors and damp rusts the metal. Start with felt on a dry wall, and you won’t have to rebuild later.
Each base trades time against cost, and the table shows where each one stands.
| Criteria | Felt | Fabric with interfacing | Cork | Shadow box |
|---|---|---|---|---|
| Time to make | Shortest: cut one piece and sew on the loops | Longest: cut, interface, sew, then turn it right side out | Short: cut a board and draw a light pencil grid | Varies: you need a backing that takes pins, so add a step |
| Cost | Lowest | Low to medium | Medium | Highest |
| Best for | A small collection on a dry wall | A bigger collection that needs a sturdy, lined banner | Pins you swap often | Valuable pins, or a dusty room where contact is a risk |
Sewing a Fabric Banner, Step by Step
Cut two shapes from fabric and two from interfacing, then iron the interfacing onto the wrong side of each fabric piece. For a point, mark the middle of the bottom and 3 inches up each side, then join the marks.
Stack the pieces right sides together and sew the sides and bottom ¼ inch in, leaving the top open. Snip the corners and point, never the seam, or it’ll pucker! Turn it right side out and press it flat.
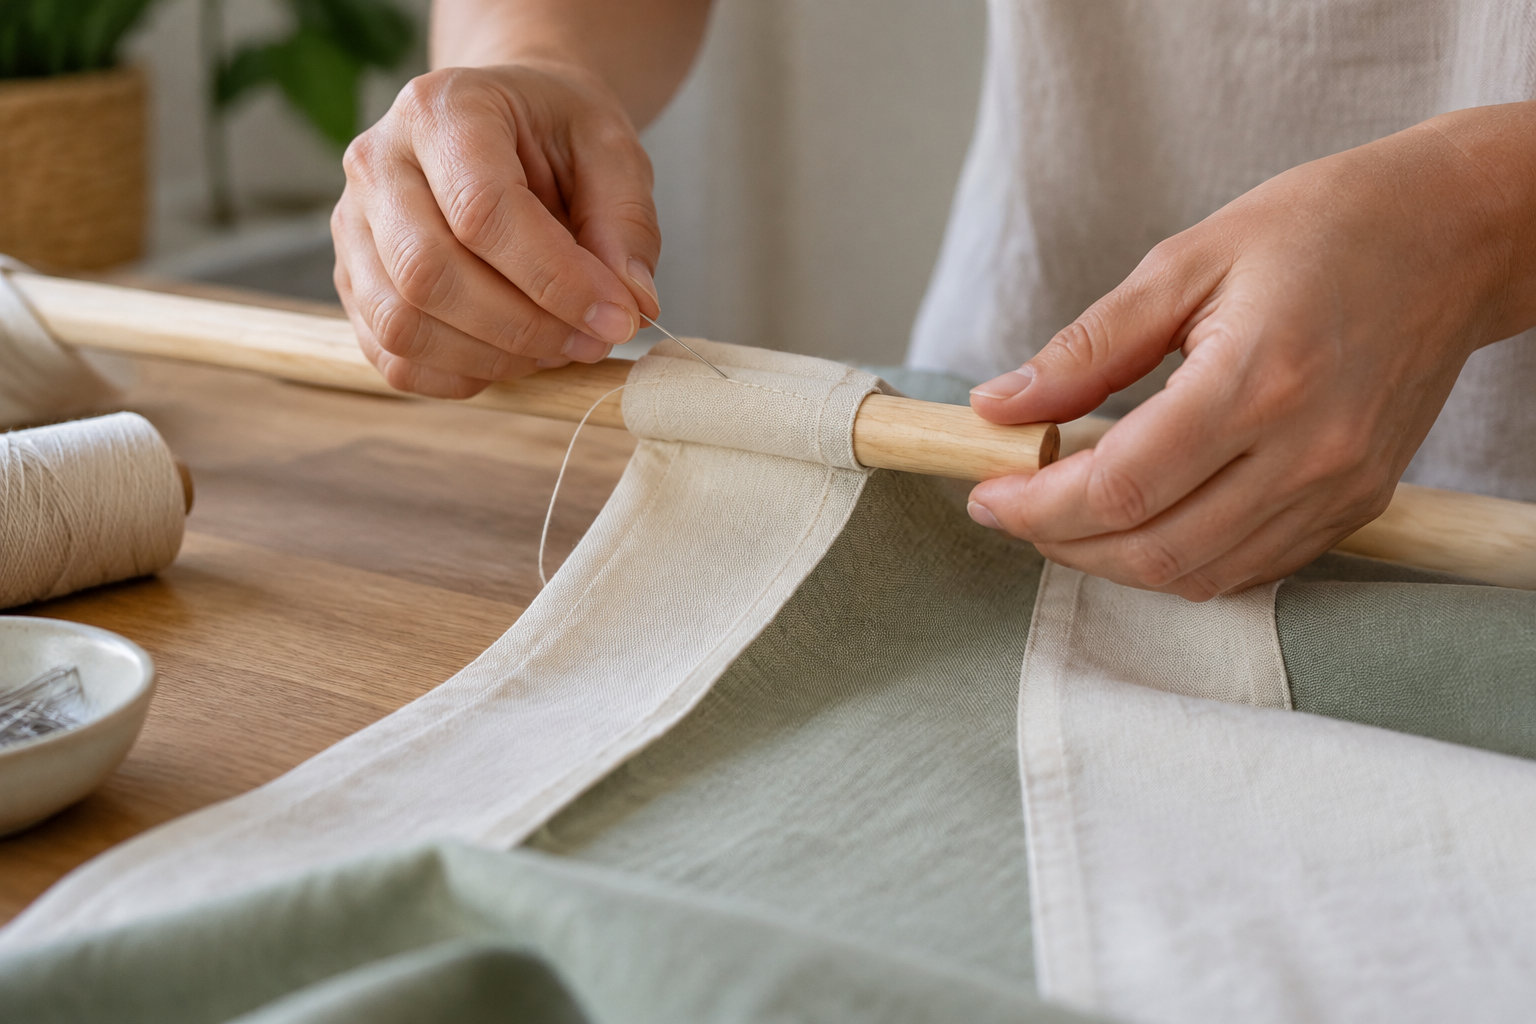
Fold the top edge down for a hem, then fold it over the dowel to make a casing 1½ inches deep.
Sew only the back panel, so the front stays clean. Slide the dowel in and tie the string at both ends.
Felt is quicker: fold the top of a 9 × 12 inch piece around the dowel and stitch the fold into a pocket. Beginners, start with felt. A bad seam there costs you minutes, not an afternoon.
Arranging and Attaching Your Pins
Don’t stick anything yet. Lay every pin on the banner and slide it around until the layout pleases you. Once it does, mark each spot with a pencil if you want even rows.
Expect to move a few pins more than once. Group them by theme or color, and a dedicated banner makes the other groups easy to spot. Sort by theme first: it reads best from across the room.
Fix each pin one at a time, in this order:
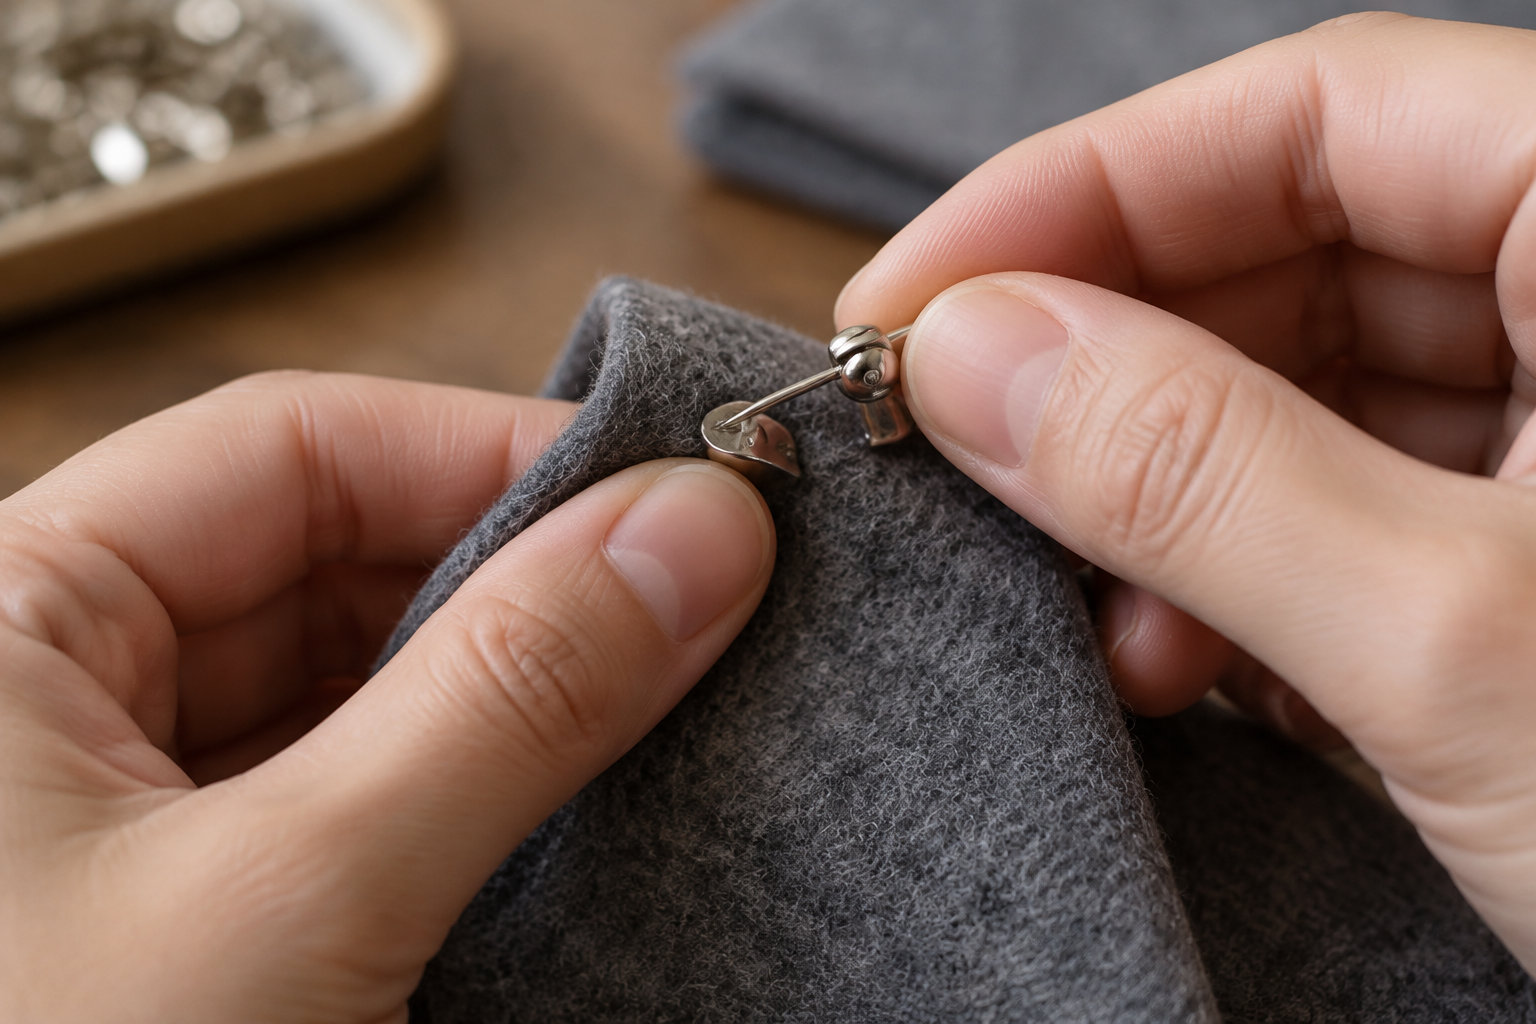
- Push the stem straight through the fabric or felt, not at an angle.
- Fasten the clasp on the back so the pin can’t slide out.
- Spread the pins across the whole surface. Pulling hard on one spot stretches the base and makes it sag.
- Check each pin from the front. If it leans, undo the clasp and reset it.
Making Room as the Collection Grows
Once a banner is full, don’t cram more pins onto it. Make a second one in another size, one per theme or series. Sort new pins first, so related ones land on the same banner.
Yes, felt looks light until the pins arrive. A 9 x 12 inch banner weighed 1 oz empty and over 16 oz full. For a small set, check corkboards and embroidery hoops instead.
Once the banner is full, it gets heavy fast. Pick a wall anchor long enough to stick out past both sides, then tie a string to each end and hang the banner from there.
Using a heavy board or frame? Weigh it full first, since pins add up fast.
Then pick a wall fixing rated for that total weight and your wall type. Buy the sturdier one now, because a fallen banner costs far more than hardware.
Mistakes That Droop, Tear, or Scratch
Is your banner sagging? The cause is usually a top that’s too loose or a base that’s too thin. Hold the banner by one corner: if it bends badly, the base can’t carry the weight of your pins.
To firm up a loose top, sew on a strip of interfacing, or sew a casing around a dowel and slide it in. Fix it now, not after the tenth pin is in.
Three slips ruin a banner fast, so watch for these:
- Puckered fabric? Lay both layers flat before sewing, and sew slowly around the point without pulling. If it’s already puckered, unpick and redo that seam.
- Torn felt? Remove the clip on the back before you pull the pin post. Then ease it out gently, without twisting the fabric.
- Scratched pins? Don’t let them rub against each other in storage, because friction can scratch the enamel.
Start with felt, pick a dry wall, and lay out every pin before you stick one in. Skip that step and you’ll end up with a crooked, sagging banner.
Full already? Don’t cram more on. Start a second banner instead, then grab a sheet of felt and a dowel and make your first one this weekend.
Frequently Asked Questions
How do I clean enamel pins before I attach them to a banner?
Wipe each pin with a soft, dry cloth first. For stubborn dirt, dampen the cloth slightly with mild soap, then dry the pin right away.
Do it before you attach it, because a dirty pin is much harder to reach once it’s in place.
Will sunlight fade my enamel pins if the banner hangs in a window?
Yes, direct sun can change the colors, so a window that gets full sun is a bad spot.
Check where the light falls at noon and again in the afternoon. If it hits the banner, move it to a shaded wall. Shade costs you nothing.
Can magnetic pin backs damage my phone or watch if the banner hangs nearby?
Keep them apart: if your pins have magnetic backs, don’t hang the banner near your phone or your watch. Check each pin’s back before you pick a wall. Got a spot next to your nightstand? Choose another one.
How long does it take to make a simple felt pin banner from start to finish?
A simple felt banner takes one sitting, and the total depends on your sewing pace. Cutting the felt and sliding in the dowel is quick.
Go slow on the pocket, though: a neat seam beats a fast one you’ll have to unpick.
0 reacties